Sunday, November 20, 2011

Quote of the Week: Thankful People


"It is not happy people who are thankful. 
It is thankful people who are happy." 
- Author Unknown

Saturday, November 19, 2011

Weekend Wonders: The One with Thanksgiving Printables


Thanksgiving is next week! Are you ready?? This week I'm featuring some great free Thanksgiving printables!

Just pop this adorable "Give Thanks" printable from Darling Doodles into a frame and you have instant Thanksgiving ambiance.

Thankful For Printable
Just print out this "Thankful for" printable from The Scrap Shoppe Blog, pop it into a frame, and use a dry erase marker to write what your family is thankful for.

Be Thankful Banner

String up this free printable "Be Thankful" banner from Sweet Anne.

Thanksgiving Party Package
This free printable package from Dimple Prints has lots of stuff perfect for your Thanksgiving dinner party including a printable banner, food labels, straw flags, cupcake wrappers, and much more.

Keep Calm and Gobble On

I love this fun Thanksgiving spin on the classic "Keep Calm" poster created by Crafitly Ever After.

Friday, November 18, 2011

Thankful Thursdays #3

Continuing from last week

15. Crafting
16. Cards in the mail (for no real reason besides "just because)
17. My "seeing eye driver"
18. His giggling
19. Medicine
20. Good school and good teachers
21. Online support groups
22. My patience (most of the time)

One thing I'm NOT thankful for this week, is Noah's new self imposed wake up time of 5:45 AM; a full 45 minutes before the alarm!

Thursday, November 17, 2011

Thanksgiving Menu Printable

Are you ready for Thanksgiving? We are having Thanksgiving dinner at our house again this year and I'm getting excited for it.

I was planning my menu last night, gathering recipes, and such when I decided I didn't want to write my menu on a boring old legal pad, so I quickly made a cute little menu printable. And then I made a matching shopping list printable. I thought I'd share them with you in case you don't want to plan your menu on a boring old legal pad either!

Download the menu printable here.

Wednesday, November 16, 2011

All Bundled Up

My Mom makes fleece scarves and recently Noah told her he wanted one so of course she was more than happy to make him a Clemson scarf. Noah's never been a scarf wearer in the past so I really thought he wouldn't keep it on but I guess I should have learned my lesson after all the hat wearing he has done this year.

Last week, one morning it was finally cold enough to break out the scarf. He kept it on and seemed to like it. It probably doesn't hurt that it's orange and purple! 


Tuesday, November 15, 2011

Snowman Ornament and Gift Card Holder


Christmas is just around the corner (eeek!) so I thought I’d show you how to make this cute little snowman ornament. 


He's adorable isn't he!
But he’s not your average ornament.......

Flip him over and he’s a gift card holder too - he has a little pocket on the back to hold a gift card! 


So wanna know how to make him? Let’s get started!

You will need:
Round coasters (I used cardboard coasters from Michael’s that I bought on super clearance (20 cents for a package of 10!) over the summer but they typically have these types of coasters all the time in the dollar section.)
White, Orange, and Black Cardstock
Patterned scrapbook paper
Black buttons
Ribbon
Thin gold or silver cording
Glue dots
Tape runner
Black sharpie
Embellishments (I used some plastic holly stickers found in the scrapbooking section at Michael’s as well as some snowflakes that I think are actually buttons.)

What you’ll do:
1. Trace your coaster and cut out 2 circles out of the white cardstock. Cut out one circle out of the patterned scrapbook paper.

2. Cut out 2 hats from the black cardstock. (I used a hat from the Silhouette store and had my machine cut it out but you could easily free hand one or find one online to use as a stencil.)

3. Adhere one of the white circles to the front of your coaster and the other to the back of your coaster. (I did this using the tape runner.)

4. Take one of your snowman hats and wrap a piece of ribbon around the brim of the hat. Glue it down on the back side of the hat. The hat with the ribbon will be the one that goes on the front of the ornament. Adhere it at the top of the ornament.

5. Cut a piece of your cording to use as the hanger for the ornament and glue it down to the other hat. Glue the second hat onto the back of the ornament and glue the two hats together.  

6. On the front of your ornament, create the snowman's face by gluing down the two buttons for eyes. Then cut a small triangle out of orange cardstock and glue it on for the nose.  Freehand a few black squares of “coal” creating a mouth for the snowman.  

7. Take your patterned circle that you cut earlier and cut it in half. Place glue dots around the edges of the circle. Now adhere the patterned circle to the back or your ornament lining it up with the bottom. This creates the pocket to hold the gift card.

Add any embellishments to the front of the snowman that you may want to add such as a snowflake button on the brim of his hat. 


Love him! 

Don't have time to make him but need him? I have a couple listed in my Etsy store

Linking to the crafty parties listed in my sidebar
and
Visit thecsiproject.com

Monday, November 14, 2011

Shabby Apple Give Away Winner

The winner of this 


beautiful necklace from Shabby Apple is.......

comment number 22!!


Lindsay from Diary of a Crafty Lady!

Lindsay, please email me your mailing address!! 

Sunday, November 13, 2011

Quote of the Week: Give Thanks


"Give thanks for unknown 
blessings already on their way." 
- Native American Saying

Saturday, November 12, 2011

This Year's Thankful Frame

Last year, I made a thankful frame but I didn't do such a hot job of packing it and it was cracked when I pulled it out this year so I decided to make a new one but went about it a smidge differently.

I decided not to paint or decorate the frame so that I could easily use it for other holidays and everyday. It was so simple it feels like I'm cheating by calling it a craft. I simply found a fall themed piece of scrapbooking paper that I liked, opened a Word Document and typed "Thankful for" in a font I liked and then printed it on to the scrapbook paper. I popped it in the frame and called her done!

I've got a dry erase marker sitting behind the frame and we will change what we are thankful for every day.

Simple, inexpensive, and meaningful!


(Linking to the craft parties listed in my sidebar)

Friday, November 11, 2011

Five Minute Friday: An Unexpected Life


It’s Friday – the day where I join other bloggers and take five short minutes to just write from the heart. Five Minute Friday is hosted by Gypsy Mama and this week’s prompt is unexpected. 


Sometimes I feel like Noah's whole life has been one unexpected circumstance after another. Becoming pregnant with him was unexpected. Pregnancy complications were unexpected. An early birth was unexpected. His Cerebral Palsy diagnosis was unexpected. 

There have also been so many unexpected blessings and life lessons along the way.

Yes our lives may be different than others and they may be harder, although that's debatable, everyone has their own obstacles but there are so many little unexpected blessings along the way. I've learned to take life slower. I've learned what true love is all about, not only my love for Noah but my family's love for me. It's brought me closer to God. I've learned what sacrifice is all about. I've learned that life is never what you expect it to be.

No matter how unexpected this journey has been, I know God made me for this and I am right where I am supposed to be. 

Thursday, November 10, 2011

Thankful Thursdays # 2

I'm continuing to list the things I'm thankful for daily and them share them here with you each Thursday in November. 
7. Fun socks
8. Pina colada slushies (my fave) soothing a sore throat
9. Random text messages from friends
10. Friendaversaries 
11. When he does the motions to Itsy Bitsy Spider
12. Date night
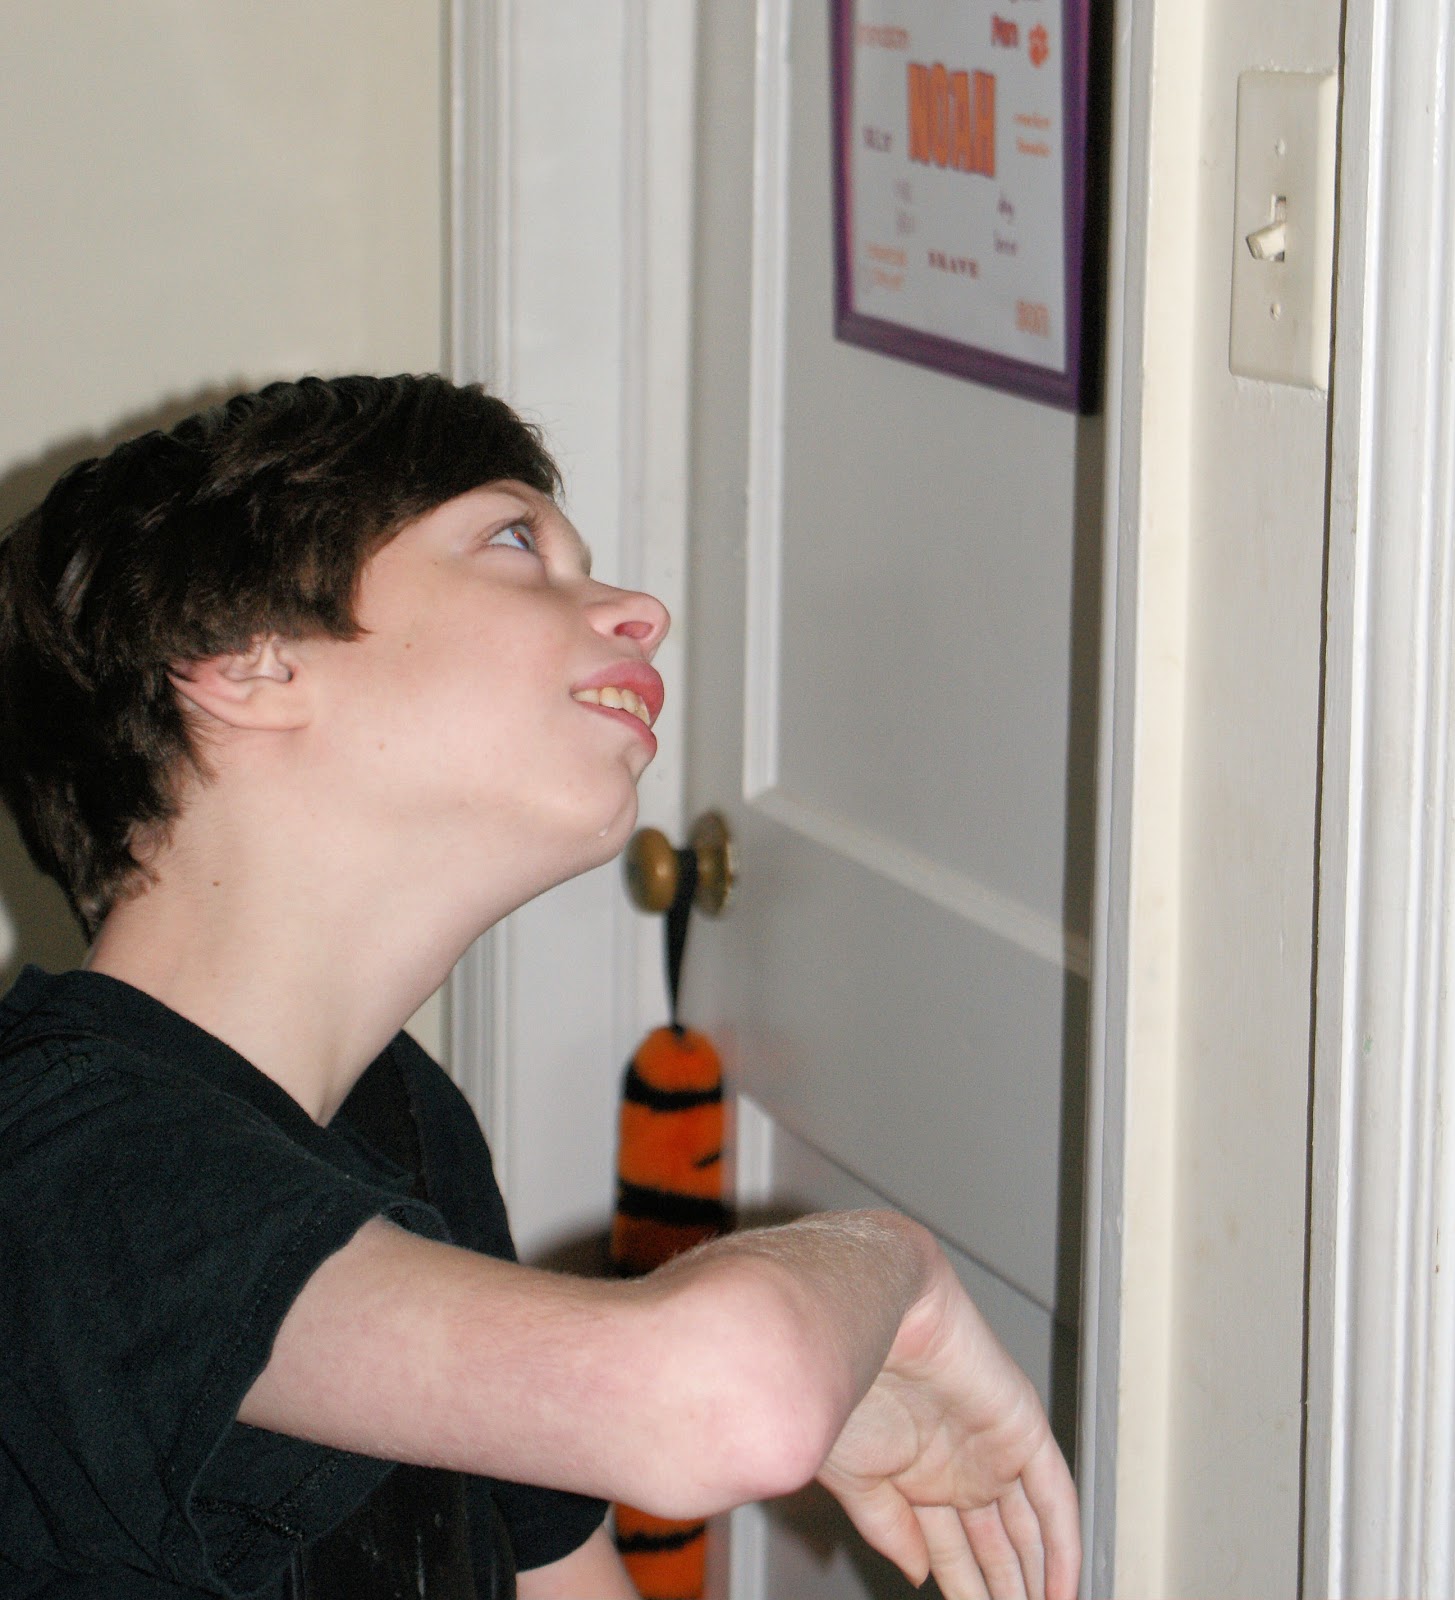
13. When he turns off the lights
14. Blogging & Bloggy Friends

Wednesday, November 9, 2011

Turn the Lights Off, Mom!

Every morning after Noah is dressed and in his wheelchair, we head to the living room to wait on the school bus. I purposely leave on the lights in my bedroom, the hallway, and Noah's room. Once I start to walk into the living room, Noah who is noticing I have left the lights on (and has recently learned about conserving energy) will say "Momma!" in this fussing like tone and then go turn the lights off.


Yes, I could just turn the lights off myself but this A. gives him something to do that kills a few minutes of time instead of just sitting there waiting on the bus, B. gives him a small task in which I can say "Good job, Noahie!" and C. it's just cute! There was a time he couldn't do this and it's nice to seem him have a bit of pride and  independence.